
Okta#
Integration Details |
|
Ingester |
|
Kit |
Okta Configuration#
There are two primary mechanisms to collect logs from Okta:
Okta System Log API
Syslog Streaming
[Option 1] Okta System Log API#
To configure Okta for ingestion with the API you will need the following:
Domain: Your Okta account domain (e.g. myorg.okta.com).
API Token: A token generated from the Okta Admin Console. This should be created for a dedicated Read Only Admin service account, not a token from a user.
See the Okta documentation for instructions on generating an API token.
Creating an Okta Token#
Start by creating a dedicated Okta Service Account for logging purposes (something like “Okta Log User”). This user should be assigned to the “Read Only Admin” role.
Attention
Do not use a token with write permissions to your Okta instance to the ingester. This gives significantly more access than is needed for monitoring.
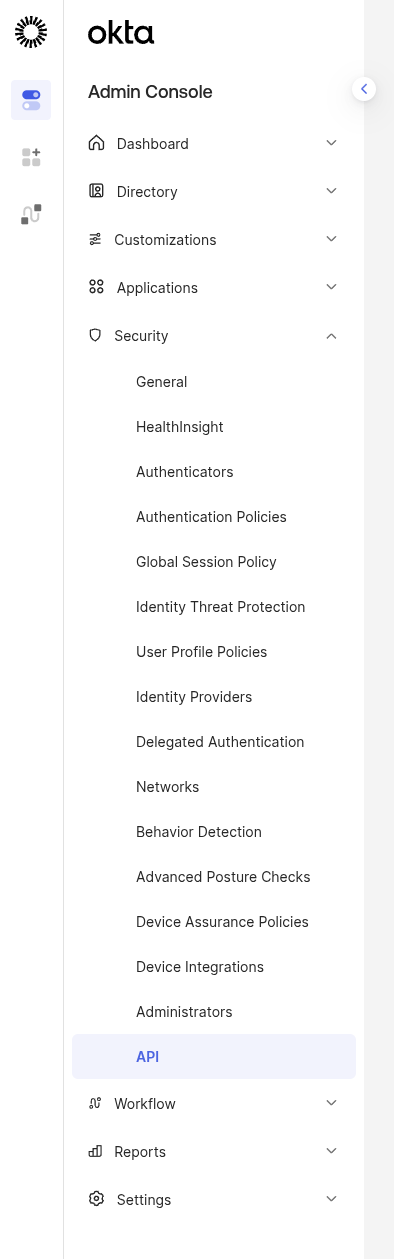
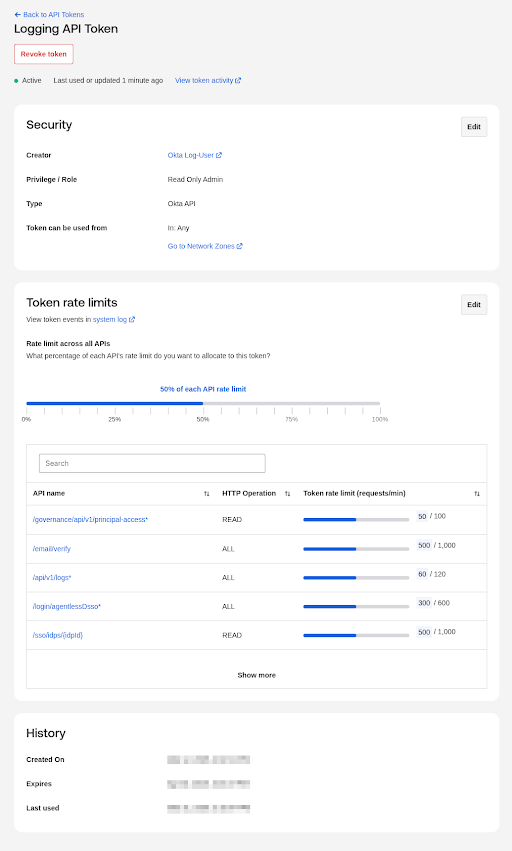
Create an API token in the Okta Admin Console > Security > Api section.
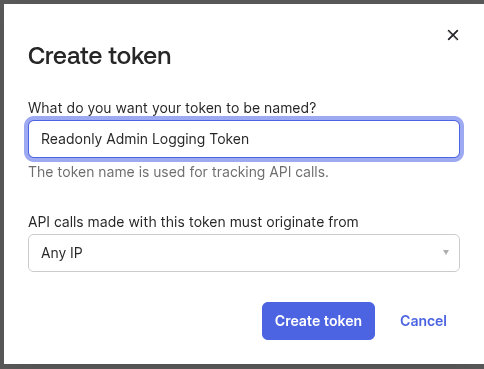
Create a new token.
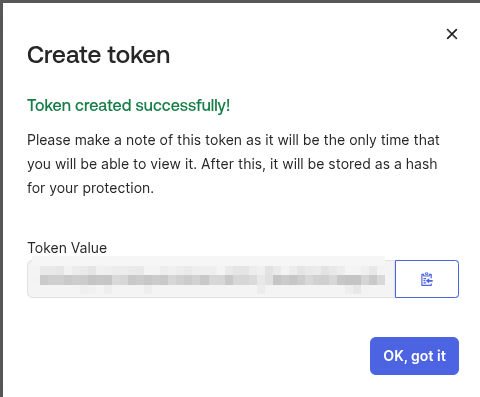
Make sure to copy the token value to use in setting up the ingester.
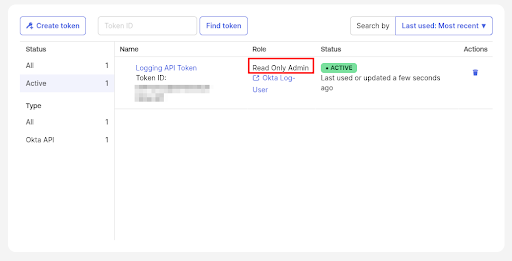
Double-check the role is “Read Only Admin” and that it is attached to a dedicated service account.
Token Rate Limits#
Okta is extremely sensitive to rate limits so double-check your token rate limits align to the Request-Per-Minute Config Parameter. The Ingester primarily hits the /api/v1/logs endpoint.
[Option 2] Okta Access Gateway: Syslog Streaming#
For Okta Access Gateway deployments, you can configure syslog streaming by following the Okta documentation.
Inside your Access Gateway instance, browse to Backups and Logs > Backups.
Select Log Forwarder.
Click Syslog remote.
Configure the following:
Name: Choose a name for the forwarder
Feed: Select the feeds you wish to capture
Audit, Access, Monitor, Audit+Access+Monitor, Aggregate (Sends all logs)
Protocol: UDP or TCP (This must be set the same in the simple relay)
Host: The hostname or ip address of the simple relay
Port: The port you used in your simple relay
Validate Forwarder. (This attempts to validate the connection, so the Gravwell simple relay will need to be setup prior to this step).
Click Okay.
Gravwell Configuration#
Gravwell Storage Well Configuration#
Setup the well configuration in your Gravwell indexers.
Sample well config#
Create or edit: /opt/gravwell/etc/gravwell.conf.d/okta-well.conf
[Storage-Well "okta"]
    Location=/opt/gravwell/storage/okta
    Tags=okta*
Gravwell Ingester Configuration#
Sample Okta config: Okta Hosted Ingester#
Create or edit: /opt/gravwell/etc/hosted_runner.d/okta.conf
[Okta "myorg"]
    Ingester-UUID="99c00000-0000-0000-0000-000000000000"
    Domain="myorg.okta.com"
    Token="your-okta-api-token"
Sample Okta config: Rate limiting lowered for lower-tier Okta plans#
[Okta "myorg"]
    Ingester-UUID="99c00000-0000-0000-0000-000000000000"
    Domain="myorg.okta.com"
    Token="your-okta-api-token"
    Request-Per-Minute=10
    Request-Burst=5
    Request-Batch-Size=100
Note
Remember to restart the service to apply the new config:
sudo systemctl restart gravwell_hosted_runner.service
Sample Ingester config: Simple Relay Ingester#
Create or edit: /opt/gravwell/etc/simple_relay.conf.d/okta-well.conf
[Listener "okta"]
    Location=/opt/gravwell/storage/okta
    Tags-Name=okta
    Preprocessor=syslog_okta_preprocessor

[Preprocessor "syslog_okta_preprocessor"]
    Type=syslogrouter
    Template=`okta_${Appname}`
Note
Remember to restart the service to apply the new config:
sudo systemctl restart gravwell_simple_relay.service