Configuring Keycloak SSO with Gravwell#
Keycloak is an open-source single sign-on product which can be integrated with Gravwell for user authentication. Installing Keycloak is outside the scope of this document, but once you have Keycloak running, you can use these instructions to set it up for Gravwell.
In this document, we assume the following:
The Keycloak server is listening at https://keycloak.example.org:8443 and is running Keycloak 20 or later.
The Keycloak admin has created a realm named “gravrealm”
The Gravwell server can be accessed at https://gravwell.example.org
Set up Gravwell configuration block#
On the system running the Gravwell webserver, create a file named /opt/gravwell/etc/gravwell.conf.d/sso.conf and paste the following into it:
[SSO]
	Gravwell-Server-URL=https://gravwell.example.org
	Provider-Metadata-URL=https://keycloak.example.org:8443/realms/gravrealm/protocol/saml/descriptor
	#Insecure-Skip-TLS-Verify=true
	Username-Attribute="username"
	Given-Name-Attribute="givenname"
	Surname-Attribute="surname"
	Email-Attribute="email"
	Groups-Attribute="groups"
	Group-Mapping=TestGroup:testgroup
The Gravwell-Server-URL parameter should contain the URL used to access your Gravwell server.
The Provider-Metadata-URL parameter points at the Keycloak server. Note that the URL contains the string gravrealm, which is the name of the realm we will use within Keycloak.
If your Keycloak server is using self-signed certificates, you may need to uncomment the Insecure-Skip-TLS-Verify parameter.
Note the Group-Mapping=TestGroup:testgroup option. This tells Gravwell that users in the Keycloak group named “TestGroup” should be placed into a Gravwell internal group named “testgroup”. You can repeat the Group-Mapping parameter multiple times to include multiple groups.
The remaining config options tell Gravwell how to map attributes in the SSO request to Gravwell user accounts. These do not need to be modified.
Once you’ve saved the configuration file, you can restart the Gravwell webserver:
systemctl restart gravwell_webserver
Create a Keycloak client#
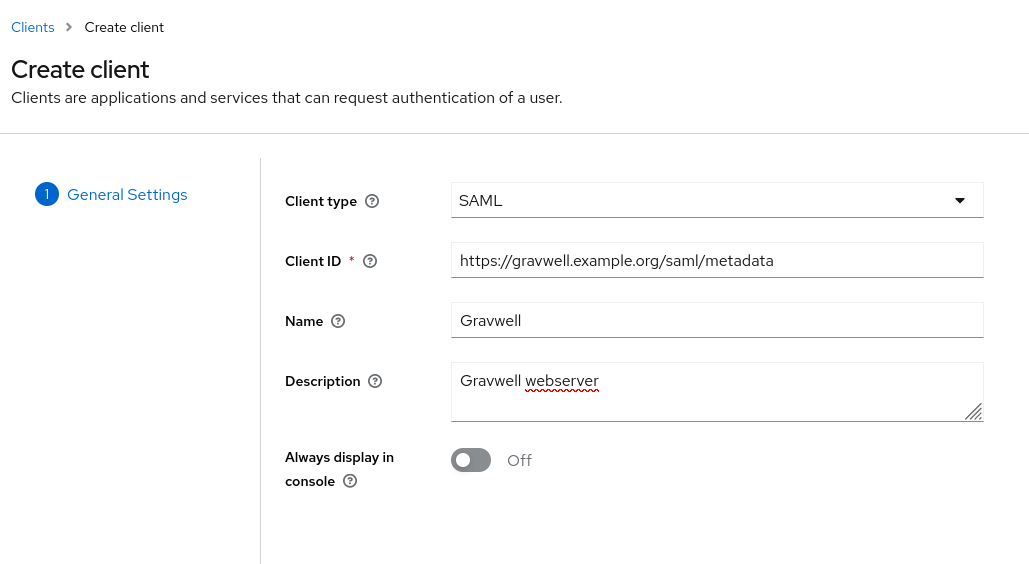
Open the Keycloak admin console web UI and select “Clients” from the menu, then click the “Create client” button. Set the client type to “SAML”, then paste https://gravwell.example.org/saml/metadata into the Client ID field, changing “gravwell.example.org” to your own Gravwell instance’s hostname. Give the client a friendly name and then click save:
After creating the client, you’ll be taken to the Client Details page. There are a few more fields to configure here. First, set the Root URL and Home URL fields to https://gravwell.example.org. Then add /saml/acs to the Valid Redirect URLs list.

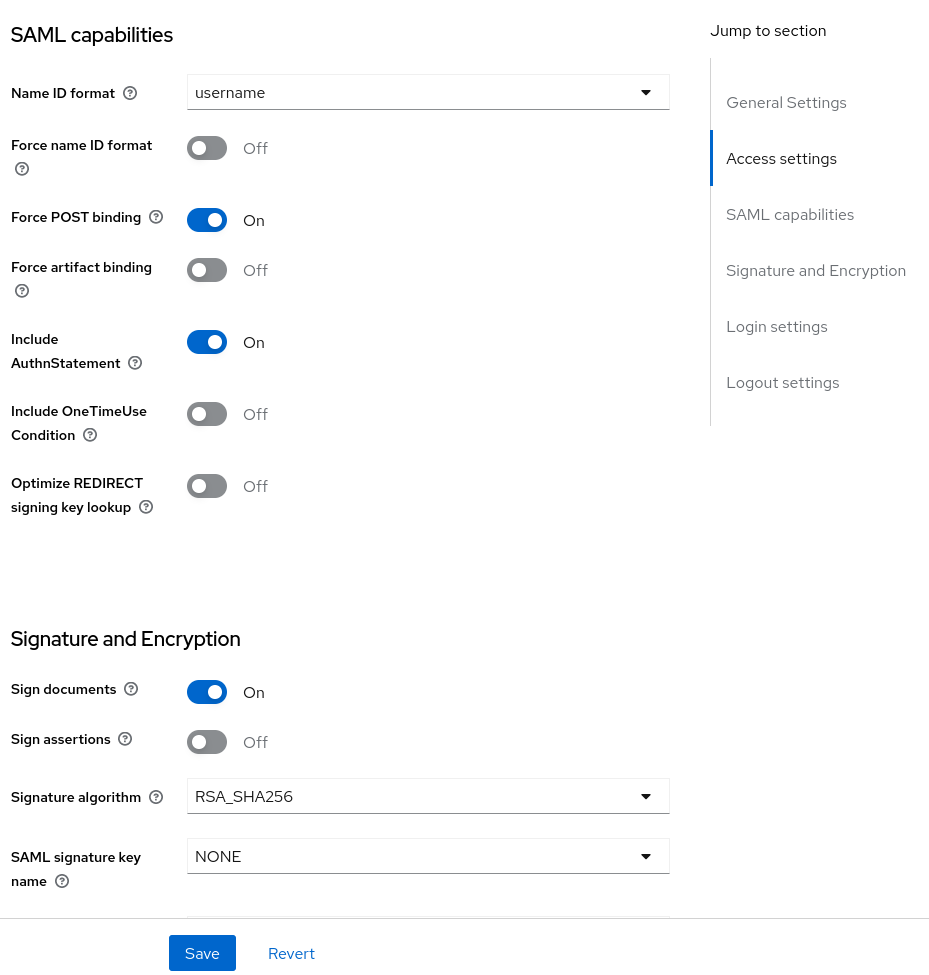
Scroll down and make sure “Force Post binding” is enabled, then turn on “Sign assertions”:
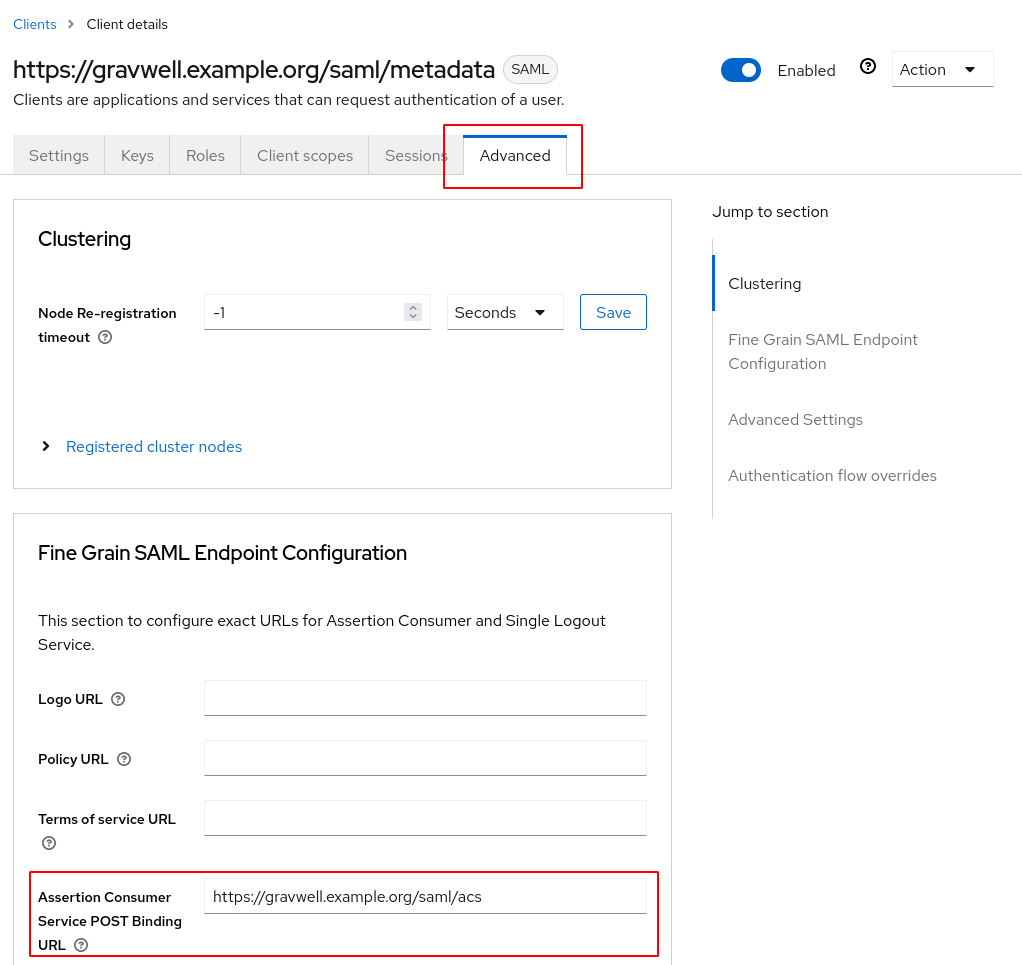
Finally, scroll back to the top and click the “Advanced” tab, then set the “Assertion Consumer Service POST Binding URL” field to https://gravwell.example.org/saml/acs:
Note
If your Gravwell webserver is using a self-signed certificate, click the “Keys” tab and turn off the “Client signature required” toggle.
Configure client scope#
We must now configure Keycloak to send additional information with each authentication request, so the Gravwell webserver knows which user is being authenticated. In the main menu, select “Client scopes” and click the “Create client scope” button. Populate the wizard with a name like “Gravwell” and a reasonable description, set the type to “Default”, and set the protocol to “SAML”:

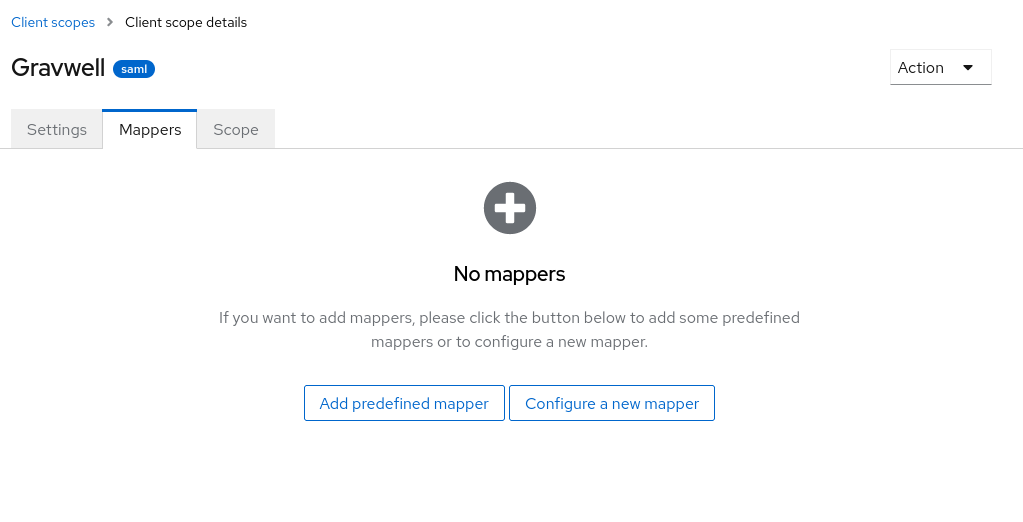
This will create a new scope and put you in a configuration page for the scope. Click the “Mappers” tab, and then click “Configure a new mapper”:
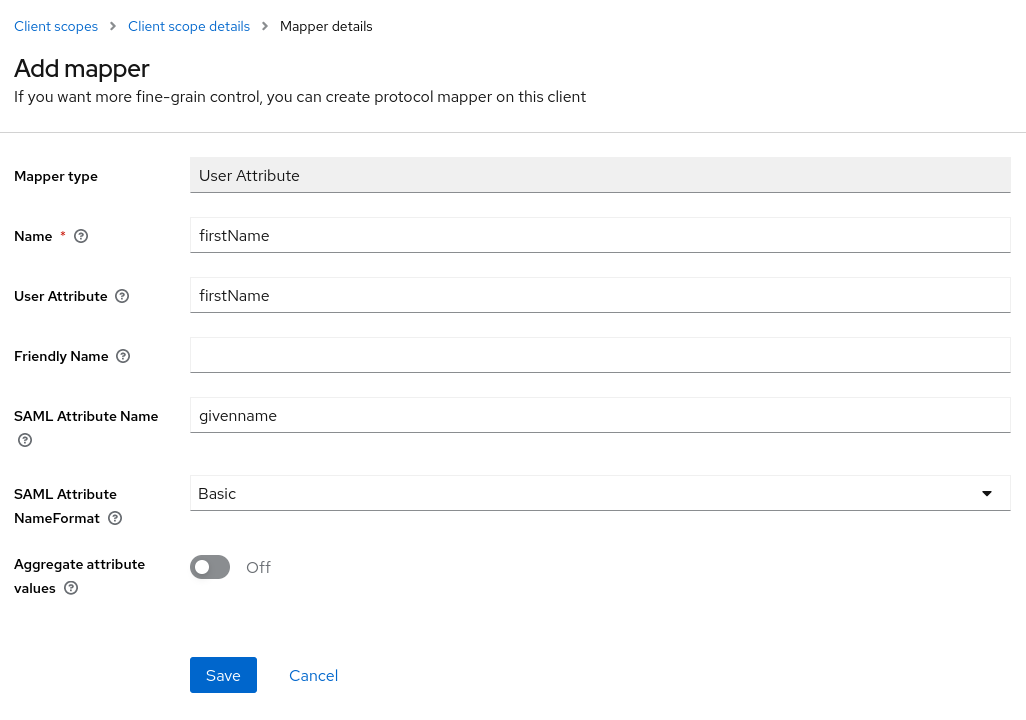
A list of mapper types will appear; select “User Attribute”. Fill out the form using “firstName” for the Name and User Attribute fields, and “givenname” for the SAML Attribute Name, as shown below:
Repeat this process to create all the following mappers:
Name |
User Attribute |
SAML Attribute Name |
|---|---|---|
firstName |
firstName |
givenname |
lastName |
lastName |
surname |
username |
username |
username |
Note that the “SAML Attribute Name” fields correspond to the parameters configured in sso.conf on the Gravwell webserver. We are essentially telling Keycloak how to pass attributes to Gravwell in the authorization message.
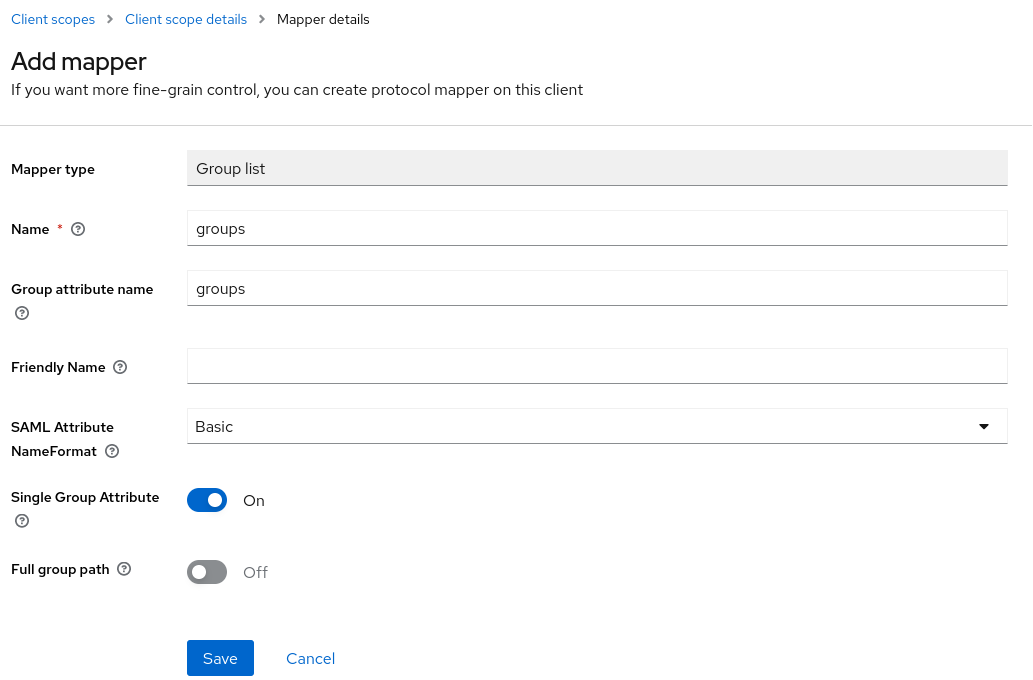
Finally, click “Configure a new mapper” again and select “Group list”, then set the Name and Group attribute name fields to “groups”:
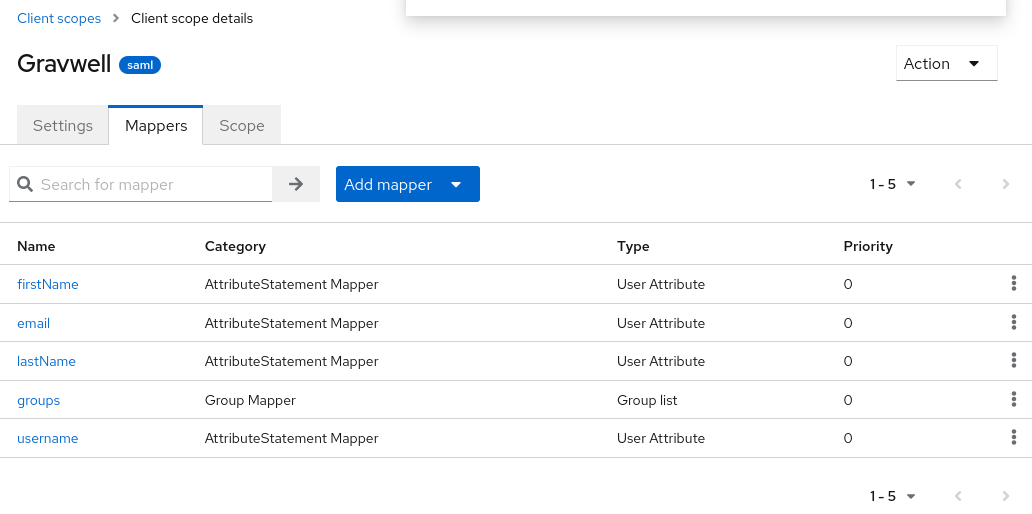
When everything is configured, the Mappers tab of the client scope should look like this:
Add client scope to client#
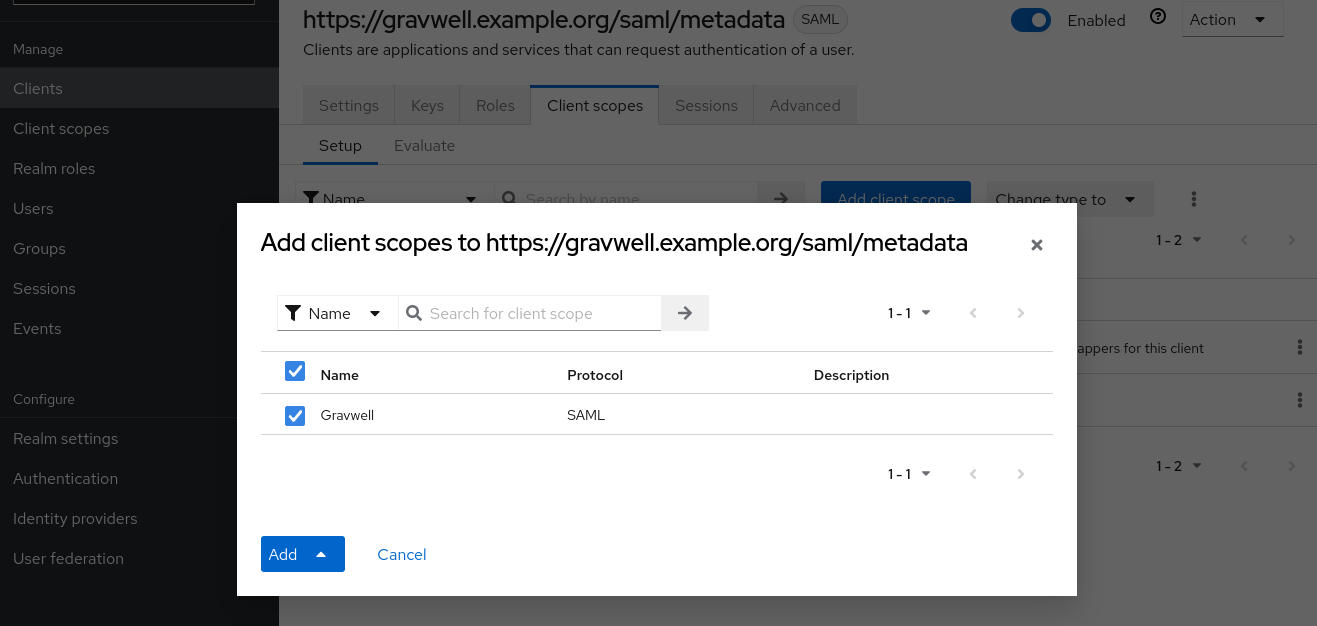
Select “Clients” from the main menu, then click the Gravwell client we created earlier. Click the “Client scopes” tab, then click the “Add client scope” button. From the dialog which appears, select the Gravwell client scope we created in the previous step and click the Add button:
Restart Gravwell and test login#
You should now restart the Gravwell webserver one more time:
systemctl restart gravwell_webserver
Then go to your Gravwell login screen; you should see the “Login with SSO” button underneath the regular username & password fields. Clicking this button will take you to the Keycloak login page, where you can enter credentials for a valid Keycloak user. This should log you in to Gravwell.
Setting the Admin flag on users#
With the Admin-Attribute configuration option, we can use Keycloak to determine which users should be Gravwell admins. Assuming we’ve added the following to our [SSO] stanza in gravwell.conf:
Admin-Attribute=isAdmin
We will then configure Keycloak to send an appropriate attribute named “isAdmin” with each message. First, we’ll go to the “Realm settings” page, find the “User profile” tab, and click “Create attribute”. We’ll then populate the form as below:

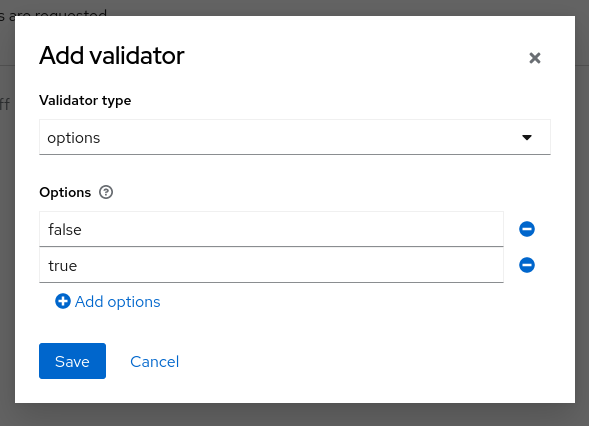
We can add a Validator to make sure it is always set to “true” or “false”. Select “Add Validator”, then choose the “options” type and enter two options:
Save the validator, then save the attribute.
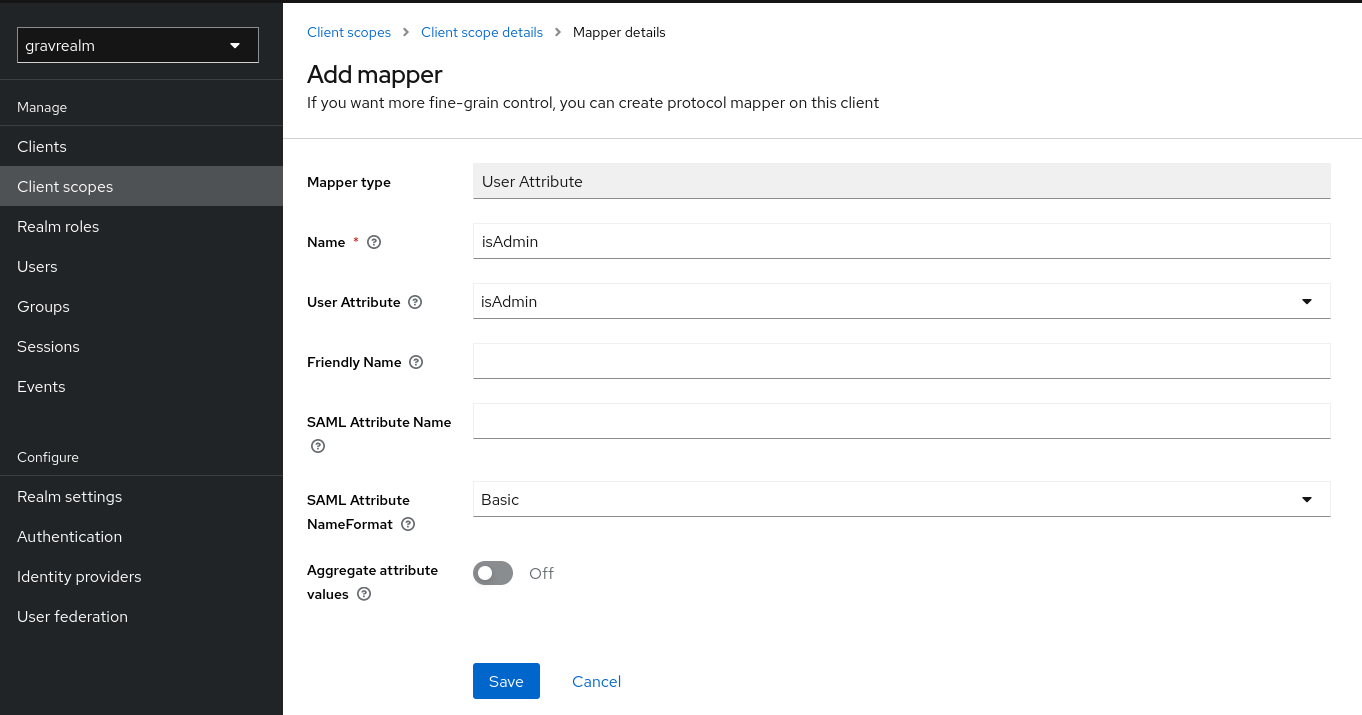
Next, go to the “Client scopes” page and select the Gravwell scope we defined earlier. Open the Mappers tab, then click “Add mapper” and pick “By configuration”. Select the “User Attribute” configuration and populate it as follows:
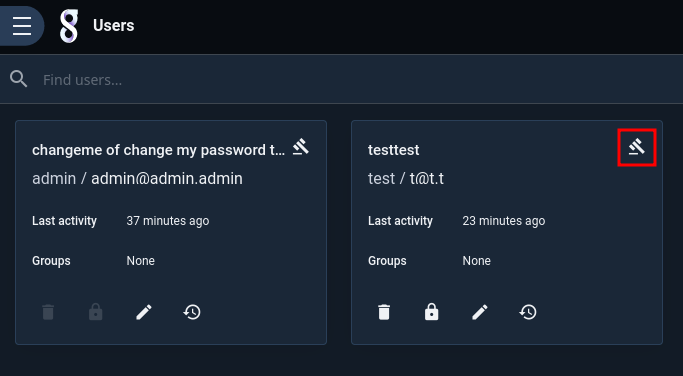
Finally, set the isAdmin attribute as desired on your users:
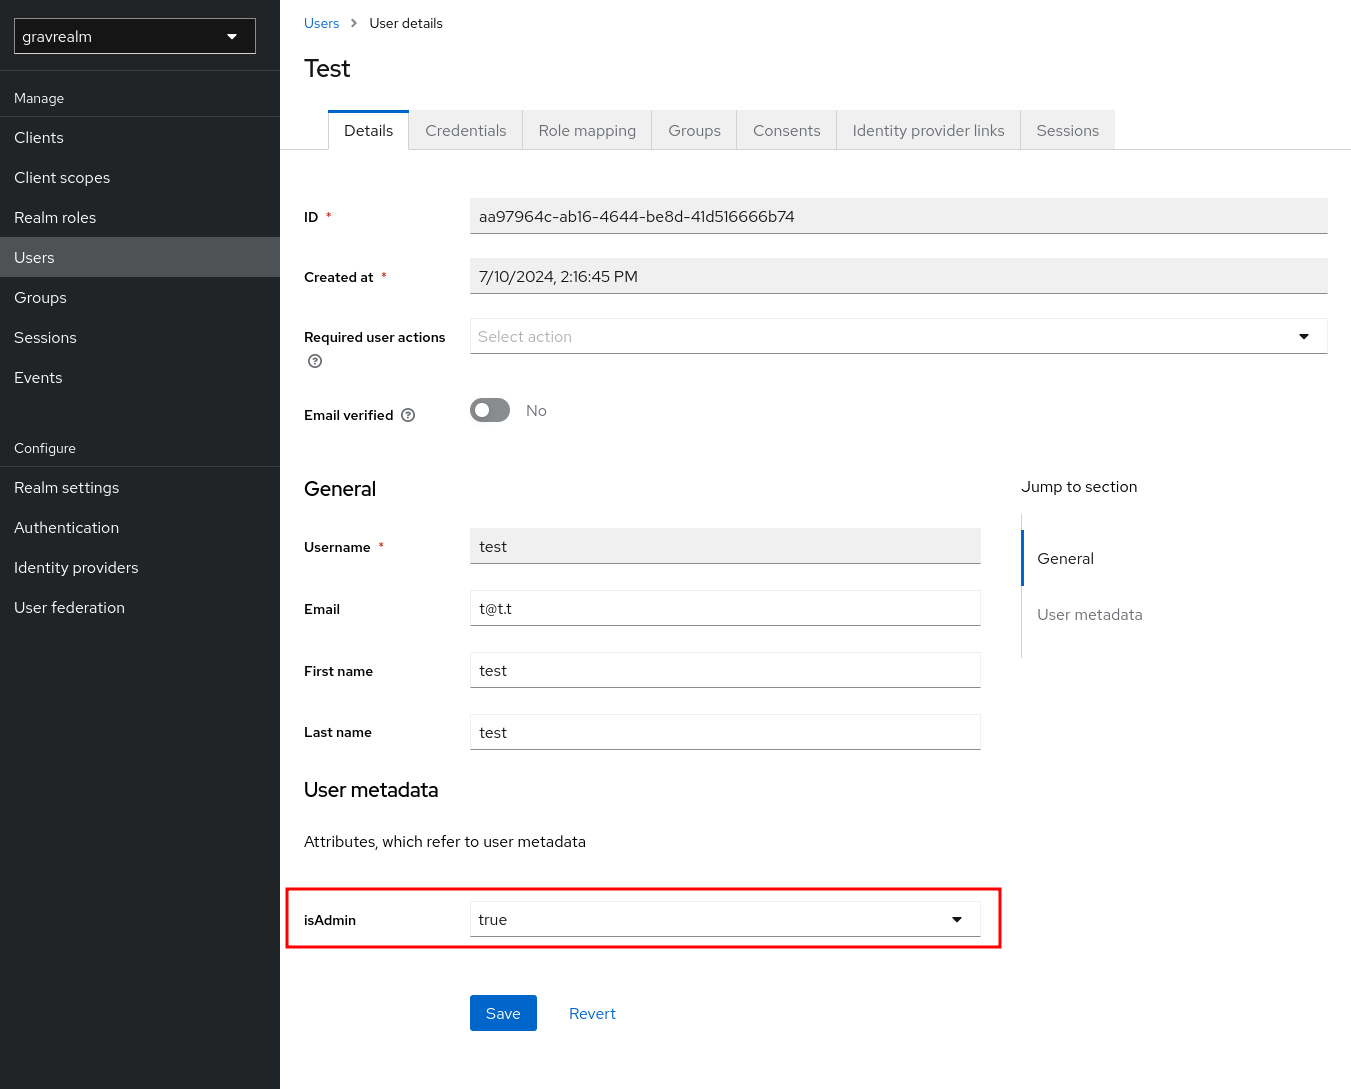
When this user logs in, they will be flagged as a Gravwell admin: