
Backup/Restore#
The Gravwell UI provides a simple method for administrators to fully back-up the system and restore from previous backups. The backups include dashboards, saved searches, users, groups, essentially everything which can be created and accessed through the Gravwell UI.
Note
This functionality backs up everything except your actual data; because you may have many terabytes of data on the indexers, we provide separate tools to help protect the data. Refer to the replication documentation for more information.
Backing Up#
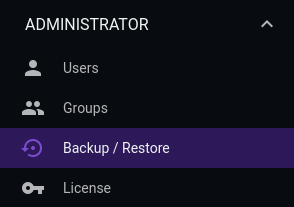
To create a backup, expand the “Administrator” section of the main menu and select “Backup/Restore”
Then, click the “Download Archive” button to immediately download a backup of all assets on the system.
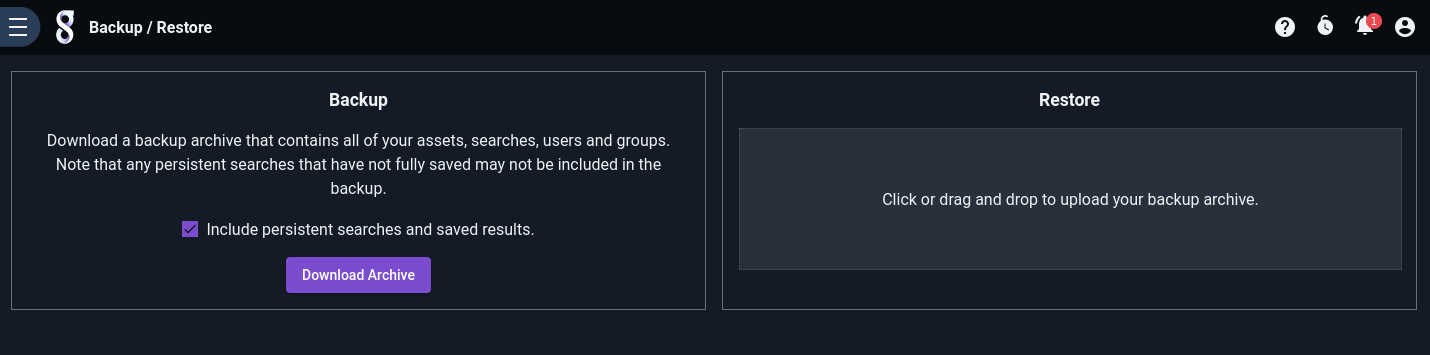
Note the “Include persistent searches and saved results”. If checked, the archive will include all saved searches owned by all users on the system, with results. Depending on the number of users and their use patterns, these search results could total up to multiple gigabytes! If you have a large Gravwell cluster with many active users, consider un-checking this option for efficiency.
Restoring#
Attention
Be aware that restoring from a backup will wipe everything which currently exists on the system (except for the data stored on indexers) and replace it with the contents of the backup.
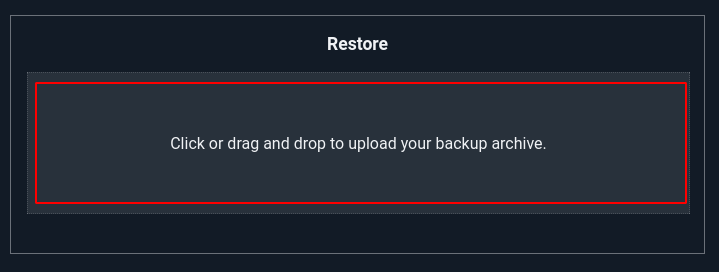
To restore a previously-made backup, click in the Restore pane of the Backup/Restore page and select your backup file for upload. You can also drag and drop into the area.
You will be prompted for confirmation before the restoration process begins. Note that this will completely replace everything on your Gravwell system with the contents of the archive. Any users added since the backup will be deleted, etc.
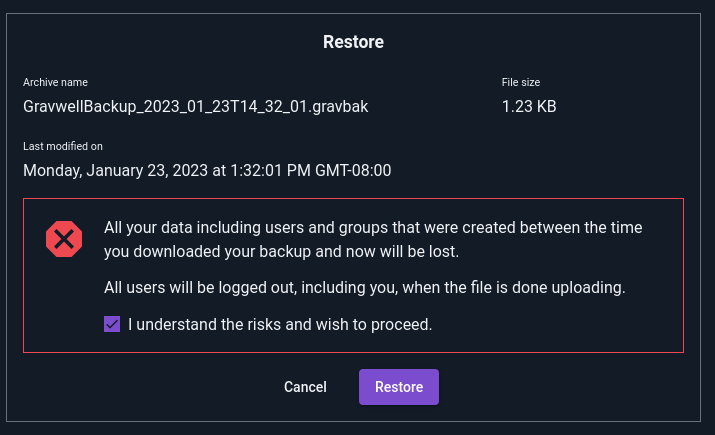
Once you click the checkbox and select “Restore”, your user and all other users on the system will be logged out. When you log in again, the system should now be in the same state as it was when the backup was made.
Automated Backups#
The Gravwell scripting engine can be used to create automated offsite backups; a simple script can create a backup and stream it offsite using a TCP connection, HTTP request, or any other network method. Below is an example backup script which sends a system backup to a listening TCP server:
net = import("net")
time = import("time")

BACKUP_SERVER=`192.168.1.1:1234`

cli = getClient()
if cli == nil {
    return "Failed to get client"
}
err = cli.TestLogin()
if err != nil {
       return err
}
// Backup may be large, increase our request timeout
err = cli.SetRequestTimeout(10*time.Minute)
if err != nil {
    return err
}

conn, err = net.Dial("tcp", BACKUP_SERVER)
if err != nil {
    return err
}

err = cli.Backup(conn, false)
if err != nil {
    return err
}

conn.Close()

return cli.Close()
Note
Backups can contain sensitive data like hashed passwords and user configuration. The above example demonstrates using the scripting system to perform scheduled backups, but a more secure system would use a TLS transport and/or a transport that requires authentication like sftp or ssh.
Backups require administrator privileges, so make sure to schedule your script using an administrator account.