
Deploying Gravwell in Docker#
With pre-built Docker images available in the Docker Hub, it is very easy to deploy Gravwell in Docker for experimentation or long-term use. In this document, we show how to set up a Gravwell environment within Docker.
If you are a paid Gravwell customer and wish to deploy Gravwell in Docker, contact support@gravwell.io for help. We also have some information about deploying a custom Docker instance on this wiki and on our blog.
Once you have set up Gravwell, check out the quickstart for some starting points on using Gravwell.
Note
Users running Docker on MacOS should be aware that the MacOS host does not have direct IP access to containers, as explained here. Be prepared to forward additional ports if you need to access container network services from the host.
Create Docker network#
To keep our Gravwell containers separated from any other containers you may be running, we’ll create a Docker network called gravnet:
docker network create gravnet
Deploy the indexer and webserver#
The Gravwell indexer and webserver frontend, plus the Simple Relay ingester, are shipped in a single Docker image (gravwell/gravwell) for convenience. We will launch it with port 80 forwarded to port 8080 on the host for access to the webserver:
docker run --net gravnet -p 8080:80 -p 4023:4023 -p 4024:4024 -d -e GRAVWELL_INGEST_SECRET=MyIngestSecret -e GRAVWELL_INGEST_AUTH=MyIngestSecret -e GRAVWELL_CONTROL_AUTH=MyControlSecret -e GRAVWELL_SEARCHAGENT_AUTH=MySearchAgentAuth --name gravwell gravwell/gravwell:latest
Note that the new container is named gravwell; we will use this when pointing ingesters to the indexer.
We have set several environment variables which bear examination. They set shared secrets used to communicate between components of Gravwell. Normally these are set in configuration files, but we can also set them via environment variables for a more dynamic, Docker-friendly config. We’ll use the GRAVWELL_INGEST_SECRET=MyIngestSecret value later for ingesters too. The variables we set are:
GRAVWELL_INGEST_AUTH=MyIngestSecrettells the indexer to use MyIngestSecret to authenticate ingesters.GRAVWELL_INGEST_SECRET=MyIngestSecrettells the Simple Relay ingester to use MyIngestSecret to authenticate to the indexer. This must match the value of GRAVWELL_INGEST_AUTH!GRAVWELL_CONTROL_AUTH=MyControlSecrettells the frontend and indexer that they should authenticate with each other using MyControlSecretGRAVWELL_SEARCHAGENT_AUTH=MySearchAgentAuthtells the frontend to use MySearchAgentAuth when authenticating the search agent
Attention
We highly recommend setting these values to secrets of your own choosing if you intend to run this long-term, ESPECIALLY if you expose it to the Internet in any way.
Attention
The secret value for GRAVWELL_INGEST_AUTH must match GRAVWELL_INGEST_SECRET
Configuring Persistent Storage#
The default Gravwell docker deployment uses the base container for all storage, this means that if you delete the container all data is lost. Docker provides several options for configuring persistent storage that is independent from the underlying container, including binds and volumes. When deploying gravwell in a production environment you will want to maintain a few directories in persistent storage depending on the component. See the Docker Volumes documentation for additional information on persistent storage.
Indexer Persistent Storage#
The Gravwell indexer keeps two critical sets of data, the stored data shards and the tags.dat file. Almost every other component of an indexer can be recovered without data loss, but under normal operation several directories should be bound to persistent storage. Important data exists in the storage, resources, log, and etc directories. Each of the directories can be mounted to individual volumes or configured in the gravwell.conf file to point to a single persistent storage directory. An example gravwell.conf designed for docker deployment with persistent storage within docker might modify the storage paths for each of the data directories to point to alternate paths within /opt/gravwell/persistent rather than just /opt/gravwell. Complete documentation on all gravwell.conf configuration parameters can be found on the Detailed Configuration page.
Webserver Persistent Storage#
The Gravwell webserver holds a few directories that should be maintained in order to not lose any configuration data or search results. The etc, resources, and saved directories contain critical that should be maintained across container deployments. The saved directory contains saved search results that users have chosen to keep. The etc directory contains the user database, webstore, and tags.dat files; all of which are critical to proper operation of Gravwell.
Ingester Persistent Storage#
Gravwell ingesters are designed to relay data and typically don’t need persistent storage, the one exception is the cache system. The Gravwell ingest API contains an integrated cache system so that if uplinks to indexers fail, ingesters can locally cache data in a persistent store so that data is never lost. Most ingesters do not deploy the cache by default, but a common cache storage location is /opt/gravwell/cache. Binding the cachedirectory to persistent storage ensures that ingesters can maintain state and not lose data across container restarts and/or updates.
Upload license and log in#
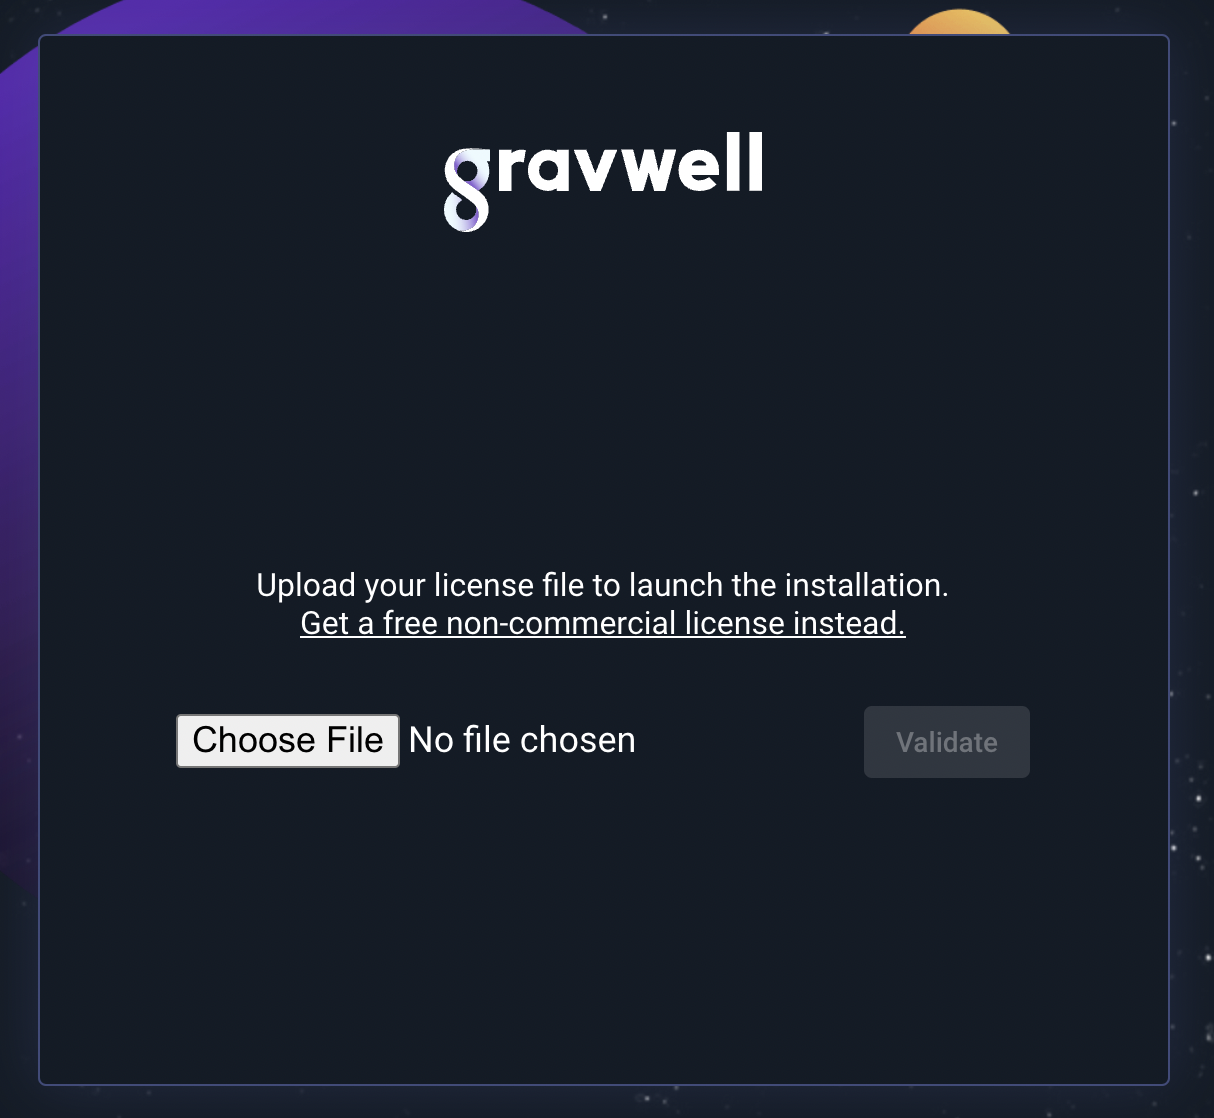
Now that Gravwell is running, point a web browser at port http://localhost:8080 on the host. It should prompt for a license upload:
Note
Paid users and existing Community Edition users should have received a license via email. If you haven’t signed up for Community Edition yet, head over to https://www.gravwell.io/download and get a license.
Once you upload the license and it is verified, you’ll get a login prompt:
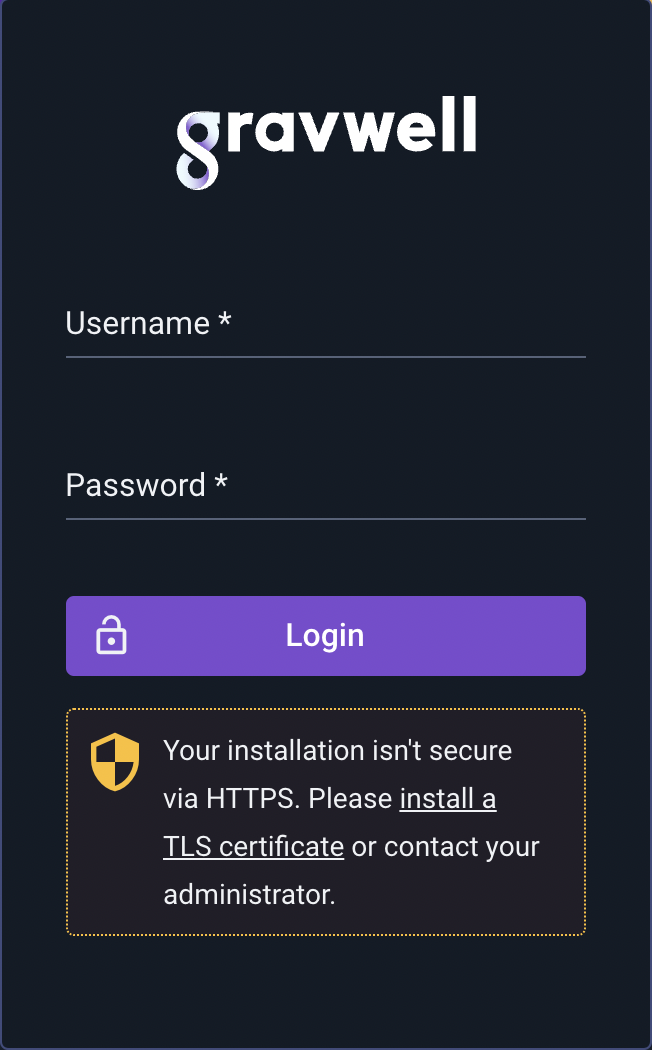
Log in with the default credentials admin / changeme. You’re now in Gravwell! If you’re going to run Gravwell for a while, you should probably change the password (click the user icon in the upper right to change the password).
Add some data to test#
The gravwell/gravwell Docker image ships with the Simple Relay ingester pre-installed. It listens on the following ports:
TCP 7777 for line-delimited logs (tagged ‘default’)
TCP 601 for syslog messages (tagged ‘syslog’)
UDP 514 for syslog messages (tagged ‘syslog’)
To make sure we can get data into Gravwell, we can use netcat to write lines to port 7777. However, when we launched the VM, we didn’t forward any of those ports to the host. Luckily, we can use docker inspect to get the IP address assigned to the Gravwell container:
docker inspect -f '{{range .NetworkSettings.Networks}}{{.IPAddress}}{{end}}' gravwell
In our case, it was 172.19.0.2. We can then use netcat to send in some lines, hitting Ctrl-C when done:
$ netcat 172.19.0.2 7777
this is a test
this is another test
Attention
MacOS users cannot access containers directly by IP, because the containers are actually run within a Linux VM. You can either use netcat from within a Docker container (either the same container or a new one), or forward port 7777 to the host when launching the Gravwell container.
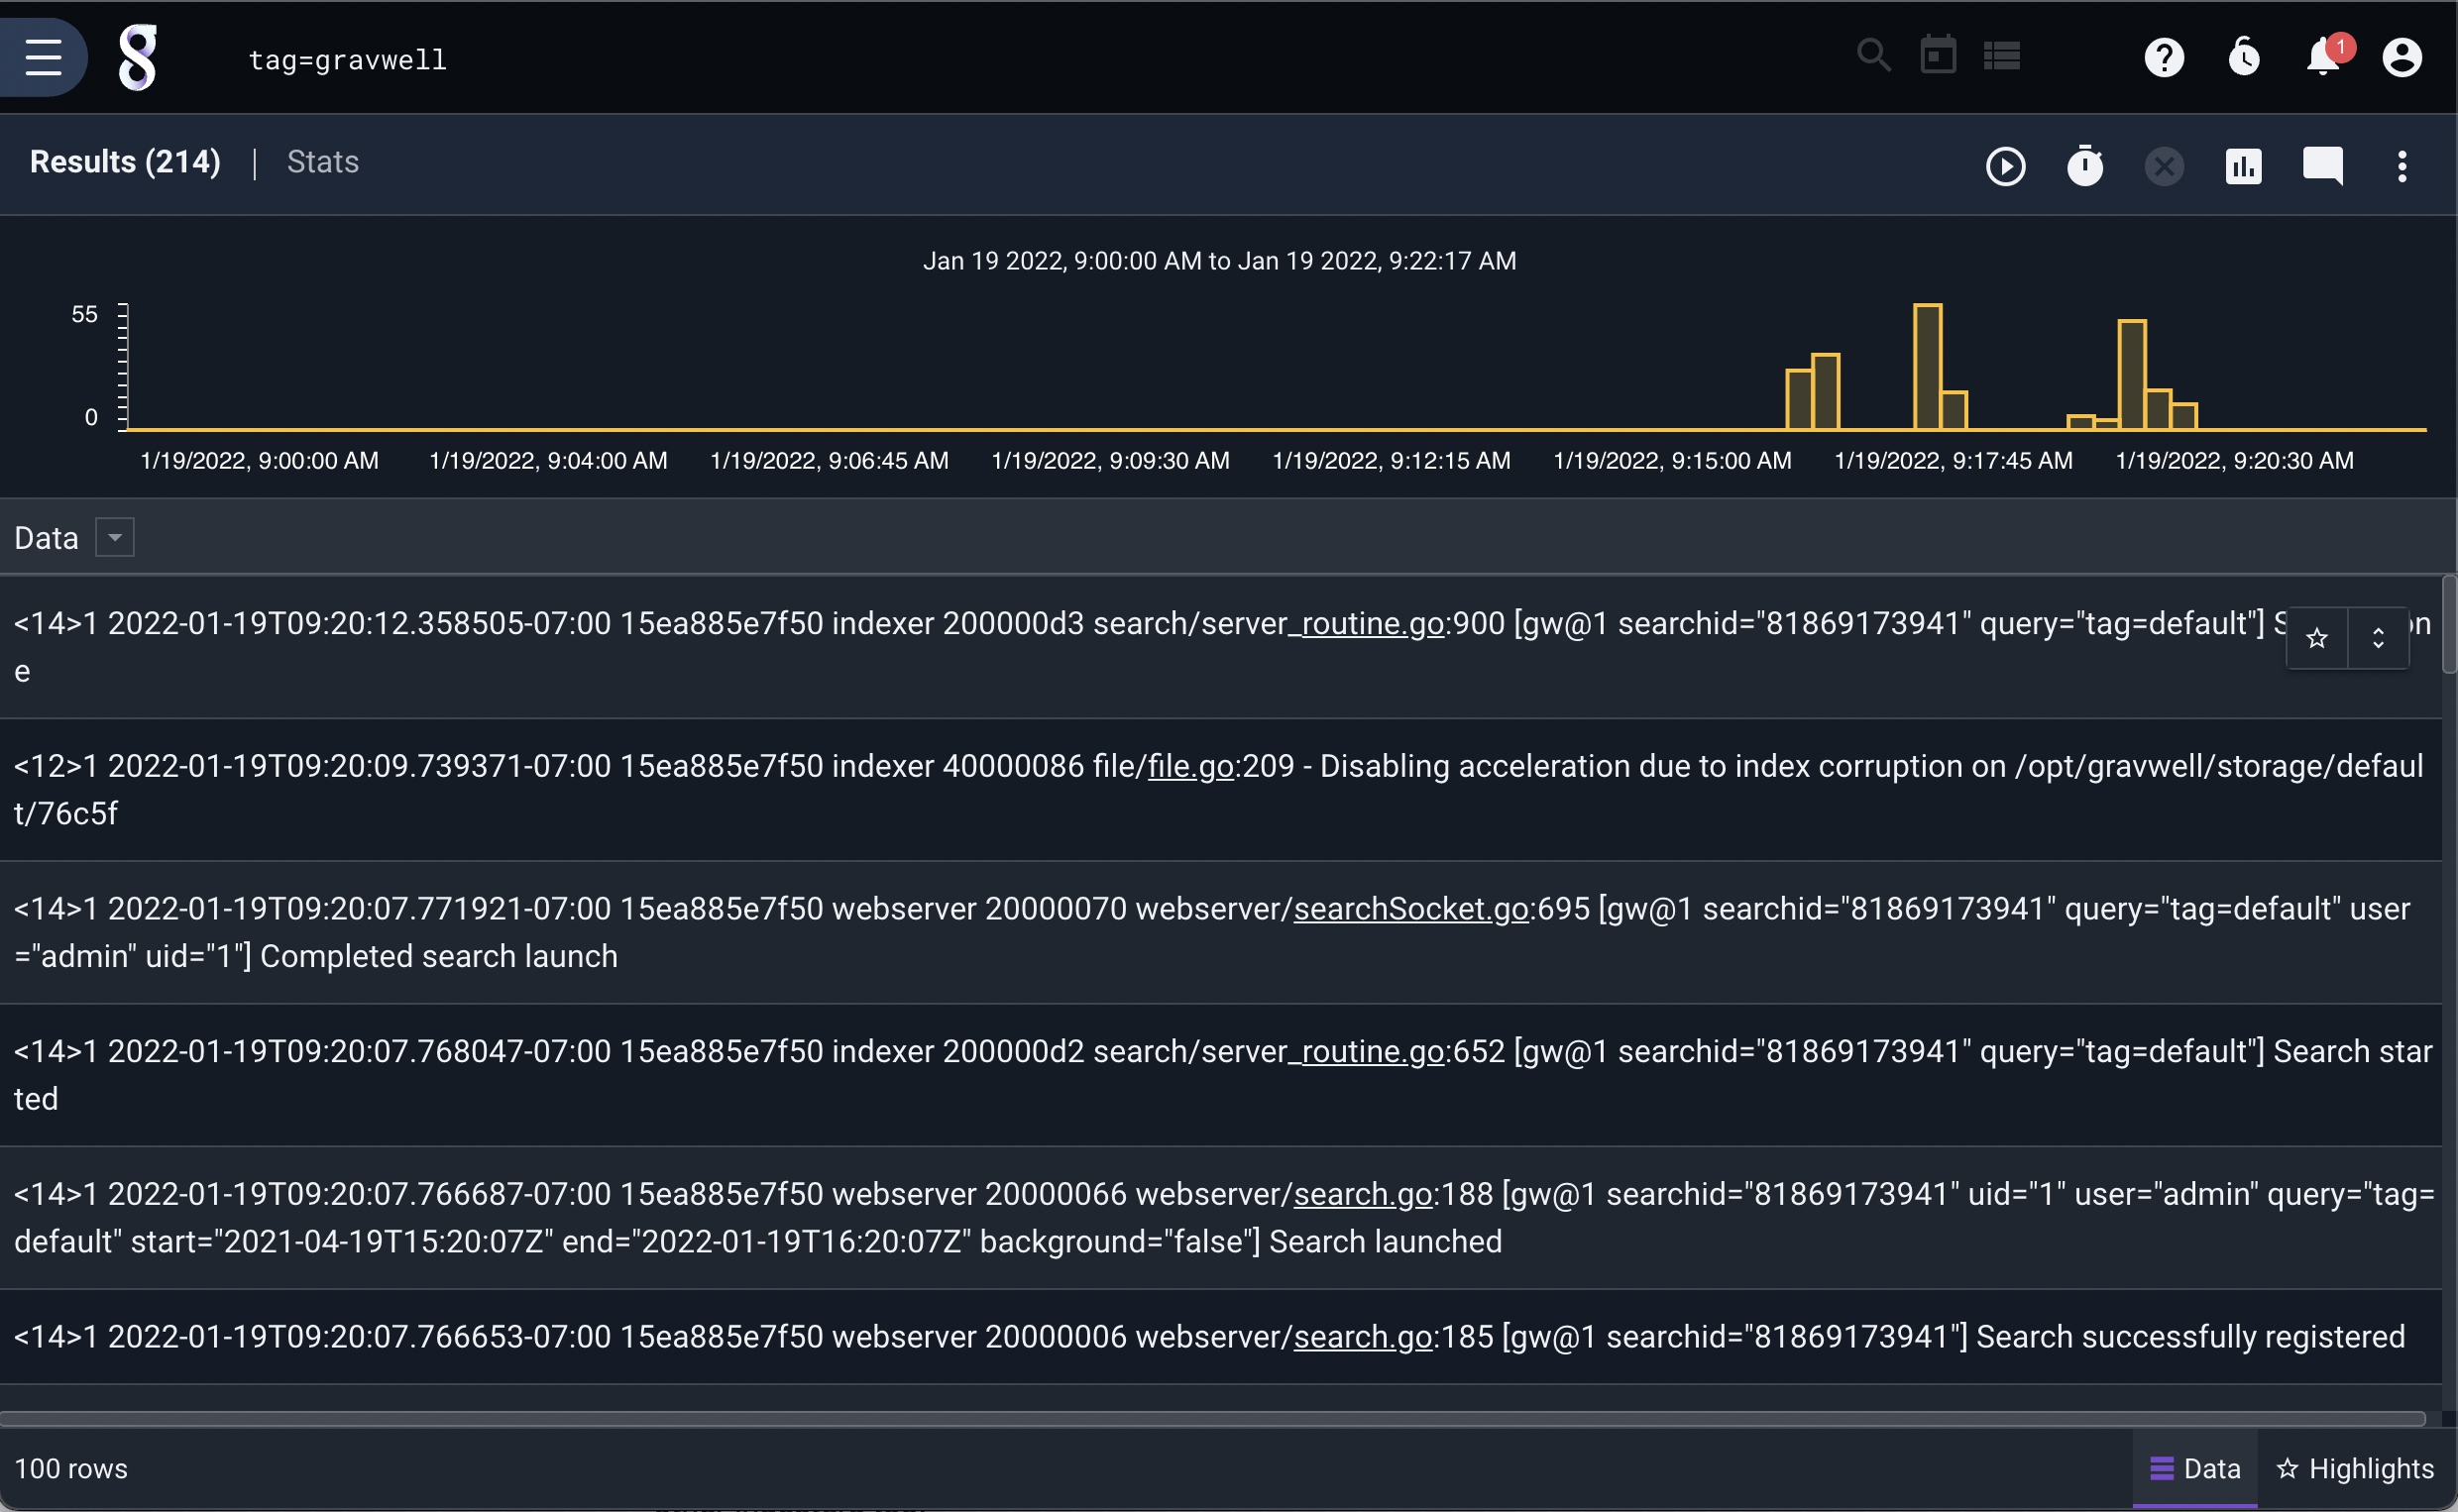
We can then run a quick search over the last hour to verify that the data made it in and Gravwell is working properly:
Set up ingesters#
Besides the Simple Relay ingester that ships with the gravwell/gravwell image, we provide a number of pre-build images for our ingesters. More information can be found at the Gravwell Docker Hub page.
We’ll launch the Netflow ingester here, but the same command (with names and ports changed) can be used for the other ingesters too:
docker run -d --net gravnet -p 2055:2055/udp --name netflow -e GRAVWELL_CLEARTEXT_TARGETS=gravwell -e GRAVWELL_INGEST_SECRET=MyIngestSecret gravwell/netflow_capture
Note the use of the -e flag to set environment variables. This allows us to dynamically configure the ingester by directing it to connect to the container named ‘gravwell’ for ingest (GRAVWELL_CLEARTEXT_TARGETS=gravwell) and setting the shared ingest secret to ‘IngestSecrets’ (GRAVWELL_INGEST_SECRET=IngestSecrets).
The -p 2055:2055/udp option forwards UDP port 2055 (Netflow v5 ingest port) from the container to the host. This should make it easier to send Netflow records into the ingest container.
Note
The netflow ingester is also configured by default to accept IPFIX records over UDP on port 4739. If you wish to ingest IPFIX records too, add -p 4739:4739/udp to the command line above.
We can verify that the ingester is active by clicking on the Ingesters item in the menu:

Now we can configure our Netflow generators to send records to port 2055 of the host; they’ll be passed in to the container and ingested into Gravwell.
Customizing services#
The official Gravwell docker container contains a service management system that makes launching and controlling multiple services within the container very easy. The manager controls service restarts, error reporting, and back off controls. Gravwell has open-sourced the manager application on github under the BSD 3-Clause license. So if you want a very small and easily configured systemd like service manager for your docker containers, have at it.
The official gravwell Docker image contains the full Gravwell stack (indexer and webserver) as well as the Simple Relay ingester. The default manager configuration is:
[Global]
	Log-File=/opt/gravwell/log/manager.log
	Log-Level=INFO

[Error-Handler]
	Exec=/opt/gravwell/bin/crashReport

[Process "indexer"]
	Exec="/opt/gravwell/bin/gravwell_indexer -stderr indexer"
	Working-Dir=/opt/gravwell
	Max-Restarts=3 #three attempts before cooling down
	CoolDown-Period=60 #1 hour
	Restart-Period=10 #10 minutes

[Process "webserver"]
	Exec="/opt/gravwell/bin/gravwell_webserver -stderr webserver"
	Working-Dir=/opt/gravwell
	Max-Restarts=3 #three attempts before cooling down
	CoolDown-Period=30 #30 minutes
	Restart-Period=10 #10 minutes

[Process "searchagent"]
	Exec="/opt/gravwell/bin/gravwell_searchagent -stderr searchagent"
	Working-Dir=/opt/gravwell
	Max-Restarts=3 #three attempts before cooling down
	CoolDown-Period=10 #10 minutes
	Restart-Period=10 #10 minutes

[Process "simple_relay"]
	Exec="/opt/gravwell/bin/gravwell_simple_relay -stderr simple_relay"
	Working-Dir=/opt/gravwell
	Max-Restarts=3 #three attempts before cooling down
	CoolDown-Period=10 #10 minutes
	Restart-Period=10 #10 minutes
This default configuration for the manager application enables the error reporting system which helps us identify and correct bugs. If a service exits with a non-zero exit code, we get an error report. To disable the error reporting system you can either remove the “[Error-Handler]” section or pass in the environment variable “DISABLE_ERROR_REPORTING” with a value of “TRUE”.
Individual services can be disabled at the time of launch by passing in an environment variable with the service name in all caps and prefixed with “DISABLE_” assigned to “TRUE”.
For example, to launch the gravwell docker container without error reporting, launch with the “-e DISABLE_ERROR_REPORTING=true” option.
If you would like to disable the integrated SimpleRelay ingester, add “-e DISABLE_SIMPLE_RELAY=TRUE” and if you wanted to launch with ONLY the indexer started chain them all up like so:
docker run --name gravwell -e GRAVWELL_INGEST_SECRET=MyIngestSecret -e DISABLE_SIMPLE_RELAY=TRUE -e DISABLE_WEBSERVER=TRUE -e DISABLE_SEARCHAGENT=TRUE gravwell/gravwell:latest
For more information about the service manager visit the GitHub page.
Customizing ingester containers#
Once you’ve launched an ingester container, you may want to modify the default configuration somewhat. For instance, you may decide to run the Netflow ingester on a different port.
To make changes to the Netflow ingester container we launched above, we can launch a shell in the container:
docker exec -it netflow sh
Then we can use vi to edit /opt/gravwell/etc/netflow_capture.conf as described in the ingesters documentation. Once our modifications are made, we simply restart the whole container:
docker restart netflow
Using Docker Compose#
If you prefer to deploy complicated docker setups automatically as a complete system, the Docker compose tool can provide an easy way to deploy and configure many services en masse. Docker compose also provides a convenient way to create volumes that are automatically initialized and persistent across multiple runs and upgrades. Below is a simple Docker Compose file (docker-compose.yml) which starts a Gravwell system and two ingesters. The ingesters are automatically configured with appropriate secrets and connection targets. Two volumes are created so that data and settings are persisted across restarts, upgrades, and tear downs.
version: "3.5"

networks:
  gravwell:

services:
  gravwell:
    image: "gravwell/gravwell:latest"
    restart: always
    ports:
      - 8080:80
    volumes:
      - gravwell-etc:/opt/gravwell/etc
      - gravwell-storage:/opt/gravwell/storage
    # Don't forget to configure your volumes, so that your data persists!
    # See https://docs.gravwell.io/configuration/docker.html#configuring-persistent-storage
    # volumes:
    networks:
      - gravwell
    environment:
      - GRAVWELL_INGEST_SECRET=MyIngestSecret
      - GRAVWELL_INGEST_AUTH=MyIngestSecret
      - GRAVWELL_CONTROL_AUTH=MyControlSecret
      - GRAVWELL_SEARCHAGENT_AUTH=MySearchAgentAuth

  simple-relay:
    image: "gravwell/simple_relay:latest"
    restart: always
    depends_on:
      - gravwell
    networks:
      - gravwell
    environment:
      - GRAVWELL_CLEARTEXT_TARGETS=gravwell
      - GRAVWELL_INGEST_SECRET=MyIngestSecret

  netflow-capture:
    image: "gravwell/netflow_capture:latest"
    restart: always
    depends_on:
      - gravwell
    networks:
      - gravwell
    environment:
      - GRAVWELL_CLEARTEXT_TARGETS=gravwell
      - GRAVWELL_INGEST_SECRET=MyIngestSecret
volumes:
  gravwell-etc:
  gravwell-storage:
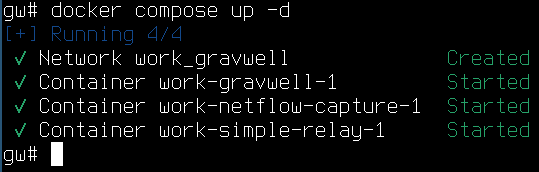
To start the Gravwell system, issue the command docker compose up -d; to stop it issue docker compose down; to remove the containers issue docker compose rm.
An upgrade cycle using Docker compose might look like this:
docker compose down
docker dompose rm
docker pull gravwell/gravwell:latest
docker pull gravwell/simple_relay:latest
docker pull gravwell/netflow_capture:latest
docker compose up -d
Configuring external (non-Docker) ingesters#
If you refer back to the original command we used to launch the gravwell/gravwell image, you’ll note that we forwarded ports 4023 and 4024 to the host. These are respectively the cleartext and TLS-encrypted ingest ports for the indexer. If you have an ingester running on another system (perhaps gathering log files on a Linux server somewhere), you can set the Cleartext-Backend-target or Encrypted-Backend-target fields in the ingester config file to point at your Docker host and ingest data into the Gravwell instance there.
Refer to the ingesters documentation for more information on configuring ingesters.
Security considerations#
If you intend to expose the forwarded container ports to the Internet, it is critical that you set the following to secure values:
The ‘admin’ password must be changed from default ‘changeme’.
The GRAVWELL_INGEST_SECRET, GRAVWELL_INGEST_AUTH, GRAVWELL_CONTROL_AUTH, and GRAVWELL_SEARCHAGENT_AUTH environment variables set when launching the indexer & webserver (see above) must be set to complex strings.
Crash Reporting and Metrics#
The Gravwell software has automated crash reporting & metrics reporting built in. For more information about what gets sent back to us at Gravwell, and how to opt out, see the crash reporting and metrics page.
More Info#
With Gravwell running, refer to the rest of the documentation for more information on how to use the system.
If you are a paid Gravwell customer and wish to deploy Gravwell in Docker, contact support@gravwell.io for help. We also have some information about deploying a custom Docker instance on this wiki and on our blog.